Back to readyVoucher

Documentation

readyVoucher help page

Complete installation, configuration and voucher design guide for readyVoucher on MikroTik routers.

Installation

readyVoucher does not require install. Simply extract readyVoucher.exe from the downloaded ZIP file to your favorite folder and run it.

Application data (voucher definitions, history database and others) is stored in the folder X:\Users\UserName\AppData\Local\readyVoucher, where X represents your system drive (C by default). Please remove this folder if you want to uninstall readyVoucher. Copy files in this folder if you want to transfer voucher definitions to other machine.

Application configuration is stored in the registry key HKEY_CURRENT_USER\SOFTWARE\Effe Software\readyVoucher. You can export this key from a working system and import in other computer to transfer general configurations to other machine.

Video tutorial

You can view a video tutorial using the link below. This is a step by step guide to configure your MikroTik router and readyVoucher. This tutorial begins with the router reset to default values. In about 13 minutes the hotspot is fully configured and ready for use.

Watch the video tutorial

Voucher kind choice: user-manager or regular hotspot

Mikrotik routers offer two ways to manage user access to the hotspot network: regular hotspot and user-manager. Both options offer some benefits and drawbacks.

Basically user-manager is an embedded radius server, installed freely as a module, that allow user creation based on configured profiles. User-manager is able to control user expiration automatically.

Alternatively, you can create users directly in the hotspot user list. These users are created with a profile but user expiration is not managed automatically.

Starting from readyVoucher version 2.0, you can select where users will be created.

If you are planning a new hotspot, it is very important to know the advantages and disadvantages of both options to select the most appropriate way to implement your hotspot.

User-manager advantages:

  • User-manager can control voucher expiration out-of-the-box. Regular hotspot voucher expiration is controlled using a script (automatically transferred to the router by readyVoucher).
  • User-manager allows session logging.
  • User-manager is a RADIUS server. It can be installed to control several hotspots on different routers but using a single user database. Hotspot users are limited to one router, one hotspot.
  • User-manager voucher start time is configurable, you can select if vouchers are activated on first login. Hotspot vouchers start counting validity time once created.

Regular hotspot advantages:

  • User-manager is resource intensive (RAM, CPU and disk). Logs and created users are not automatically deleted. You must perform database maintenance from time to time to free disk space. Hotspot users are automatically deleted once expired by the readyVoucher script.
  • User-manager simultaneous active sessions are highly limited based on the router license level (L3: 10 users, L4: 20 users, L5: 50 users, L6: unlimited). Hotspot maximum active users are much higher on some license levels (L3: 1 user, L4: 200 users, L5: 500 users, L6: unlimited).
  • User-manager tends to leave open some user sessions when user is really disconnected. This makes the system to run out of available active sessions depending on your license level. Hotspot users do not present this problem.

Our general advice is to use hotspot users on license levels L4 and L5, and user-manager on license levels L3 and L6. Always use user-manager if you want session logging or you want to activate the vouchers on first login. Always use hotspot users if you don't want to do a regular database maintenance and if you print the voucher under customer demand. Please note that you can use both systems simultaneously: you can use user-manager vouchers for pre-printed vouchers and sell hotspot vouchers under customer demand.

User-manager automatic user logout on expiration

Some RouterOS versions do not logout automatically users when voucher expires. This means that users can access Internet with an expired account up to the next login.

If you want to close the user session when voucher expires, you must enable incoming RADIUS requests.

To enable them, open WinBox and open "Radius" option from menu. Click "Incoming" button, enable "Accept" checkbox and select port 3799. Next, open user-manager web engine (http://YOUR_ROUTER/userman) and navigate to routers menu item. Select your router and find "Radius incoming". Check CoA support and put port 3799.

Login window

readyVoucher user creation is protected by user name and password. By default user name and password are both set to blank values. You can customize these parameters in the Setup window.

Enter your authentication data and click Setup button to configure parameters or Login to start generating vouchers.

If you lost your user name or password, click the button located at the left of login user and password fields and select Reset authentication data from menu. Warning: API user name and password will be reset too.

User generation window (normal mode)

This window is used to generate users and print vouchers. Select user profile from the left list, insert number of vouchers and click Generate.

User-manager profiles are automatically retrieved from mikrotik router. To edit or create new user-manager profiles please use mikrotik user-manager web application. To create new hotspot profiles please go to the readyVoucher setup dialog.

The POS mode button located at the right of the window allows to switch to the POS mode. Refer below for more details about this mode.

Generated users will be shown in the bottom list. In order to print vouchers for these users, select your preferred voucher design from the bottom drop-down list and click Print Vouchers button. Now select destination printer to start voucher printing. You can configure each voucher design to print directly to a printer. See Voucher Setup for more details.

Vouchers can be printed filling the entire available page size or one per page. See Voucher Setup for more details.

Please note that your selected voucher design will be recorded for next generated vouchers with the same profile. So there is no need to set design each time you print vouchers with this profile.

User generation window (POS mode)

POS mode is an extremely simple user interface to generate and print vouchers, specially designed for POS machines with tactile monitors, but also useful with non tactile screens. If you switch to this mode, readyVoucher will remember your choice for the next startup.

Available profiles are shown as big buttons. Please note the Next and Previous buttons located at the bottom of the window, that are used to navigate through the available profile pages. In order to print a voucher click the required profile, use the numeric keypad in the popup window to set the desired number of vouchers and click enter. Vouchers will be generated and printed.

For every profile, the bottom text indicates the design used to print the voucher. If you want to change this design, please use normal mode to assign the required design for each profile.

User profiles are automatically retrieved from mikrotik user-manager. To edit or create new profiles please use mikrotik user-manager web application.

At the left of this window a voucher history shows the last generated vouchers with their price. This history is useful to calculate the total amount to charge the customer. Please click the red button to reset this list.

If you need information about generated vouchers (user name or password), you can switch to the normal generator window in any moment by using the button at the bottom of the window.

Setup window: general values tab

This tab is used to configure general options:

  • readyVoucher users. This control shows active users who can authenticate readyVoucher. A yellow icon indicates that user is allowed to access Setup Window. Use Add, Edit or Delete button to create new, modify or remove users.
  • Use username database. Using this option you can create your own username database, so operator can select username from list to create vouchers.
  • Generated user and password length are the number of digits used on creation.
  • Serial. Vouchers are generated using a serial number, automatically incremented on voucher generation. Change this field if you want to begin numbering at a specified serial number.
  • Currency. This is your preferred currency when printing prices. From version 2.8, this field can specify additional formats for currency strings. This value can reference only the currency string: EUR, for example. In this case price is printed before currency (10.00 EUR). Additional formats are specified using the % character. In this case, position of the % character will be replaced with the price value. For example: "$ %d2" prints "$ 1,999.00", "Lit %c2" prints "Lit 1.999,00" and "Rp %c0" prints "Rp 1.999".
  • Verify user after creation. This verification can impact performance, especially when creating a large number of vouchers. Some systems do not require this option, so you can disable it and fasten creation process. Other systems can present problems when creating users or assigning profiles, causing defective vouchers. Enable this option on these systems.
  • Minimize to tray. Check this item if you want readyVoucher to continue running in the background when you close any generator window. Click the icon in the taskbar to open readyVoucher again. It will not be necessary to login in the system again. If you want to exit readyVoucher you can use the Exit button in the main window or right click the tray icon and select Exit from this menu.

Setup window: Routers tab

In this tab you can configure router parameters:

  • Routers list. This list contains all routers configured. You can add, edit or delete routers using the provided buttons. When editing a router the router setup dialog will appear.
  • Router name. This field is used to identify the router using a friendly name.
  • Mikrotik API login. Fill router address and API authentication data. Please note that API service must be enabled in the router. You can test the connection to the router by clicking 'test connection' button.
  • Router profiles. You can enable user-manager profiles and/or Hotspot profiles.
  • User-manager profiles. You can set MAC binding on first voucher use. User-manager vouchers will be generated using the specified customer. This customer must exist in the router. Leave blank to automatically select first customer available.
  • Hotspot profiles. This is the list of the currently active hotspot user profiles. You can create, edit and delete your required hotspot profiles. When creating a new profile, you have to assign a Mikrotik user profile, a validity time, and other limits.
  • User name prefix. Enter user prefix for user-manager and Hotspot vouchers. Please note that user-manager and hotspot user prefix must be different, in order to avoid user duplication between platforms.
  • User expiration script. HotSpot profiles need a script in the router to manage voucher expiration. When the voucher validity time has expired this script will automatically delete this user from the Mikrotik hotspot user list. This script is executed by the Mikrotik scheduler using the configured interval. Change this interval if you need more precise user expiration. Click the transfer button to transfer the script and the scheduler configuration to all routers.

IMPORTANT NOTE: To ensure a correct hotspot user expiration management, verify that readyVoucher and router clocks are synchronized and using the same timezone.

Setup window: voucher setup

This tab is used to configure voucher definitions.

Use top buttons to rename, create new, delete or copy a voucher definition. Select the voucher definition to edit using the left drop-down list.

Use share button to import or export your definition. Using this feature, you can share voucher designs between machines, or use our predefined vouchers as a starting point for your own designs.

Voucher design is based on graphic definitions and text definitions. Text items will be printed over graphic definitions. Lines, boxes and barcodes will be printed over image definitions.

Use 'Fill entire page with vouchers' checkbox to select if you want to print one voucher per page or you prefer to fit page with vouchers. Voucher min margin is used to calculate the minimum separation between vouchers in the page layout.

'Use printer' field is used to assign the specified printer to the current voucher design. If you fill this field, vouchers will be printed directly to the selected printer, without 'select printer' dialog. You must specify a printer in this field if you want to use printer fonts (barcode fonts, for example).

Click Add graphic button to create a new image, line, box or barcode for the selected voucher definition. X and Y positions are referred to the top-left voucher corner.

Click Add item button to create a new text item for the selected voucher definition. Enter the desired text, X and Y position, align, font, color and rotation. X and Y positions are referred to the top-left voucher corner. Special text fields are designed with ${field}, where fields are:

  • ${user}. Generated user name.
  • ${password}. Generated user password.
  • ${profile}. User profile.
  • ${price}. Voucher price.
  • ${date}. Current date.
  • ${time}. Current time.
  • ${generator}. readyVoucher logged user name.
  • ${serial}. Voucher serial number.
  • ${validity}. Voucher validity time.
  • ${tilltime}. Voucher expiration time (only HotSpot vouchers).
  • ${firstname}. User first name (v2.11).
  • ${lastname}. User last name (v2.11).
  • ${phone}. User phone (v2.11).
  • ${location}. User location (v2.11).
  • ${comment}. User comment (v2.11).
  • ${email}. User Email (v2.11).

Use 'Printer test' button to print a sample page of the current voucher definition.

Please note: unregistered version allows creation of voucher definitions. You can test your created voucher definition but real vouchers will be printed only with our default definition!

Voucher history tab

This tab is used to view generated vouchers history. This feature is enabled in the registered version only.

Enter From date, To date and User fields to filter query results. Click 'Start query' button to show results. The text at the bottom will show information about the query.

Use right click to print the selected voucher using your desired voucher template. You can select several vouchers using shift key.

License tab

This tab is used to view your current license status.

If you want to register readyVoucher, you have to select your required license option. You can choose between System based license or Router based license. System based license is linked to your Windows machine. Router based license is linked to your Mikrotik router. Copy your System Key or Router key and refer to the main page for the licensing process.

Once you received your License Key, paste it to the License Key or Router license key field and click Register.

Automated login with QR code

readyVoucher can print QR codes in your voucher, so customer can take advantage of the automated login process simply scanning the voucher QR code with a smartphone.

If you want to include this feature in your voucher, simply add a QR code containing the following link in the barcode text definition:

http://YOUR_HOTSPOT_DNS/login?username=${user}&password=${password}

Please replace YOUR_HOTSPOT_DNS with the DNS you entered during hotspot creation. You can download sample voucher designs with this QR code at the bottom of this page. In these samples, remember to replace the "hotspot.hot" QR text with your hotspot DNS.

In order to accept user login using a direct link (using QR codes, for example), MikroTik router requires the HTTP PAP Login method. Please enable it in your hotspot server profile, Login Tab. When this field is not enabled, the login fails and the browser indicates "web browser did not send challenge response".

Ticket printers

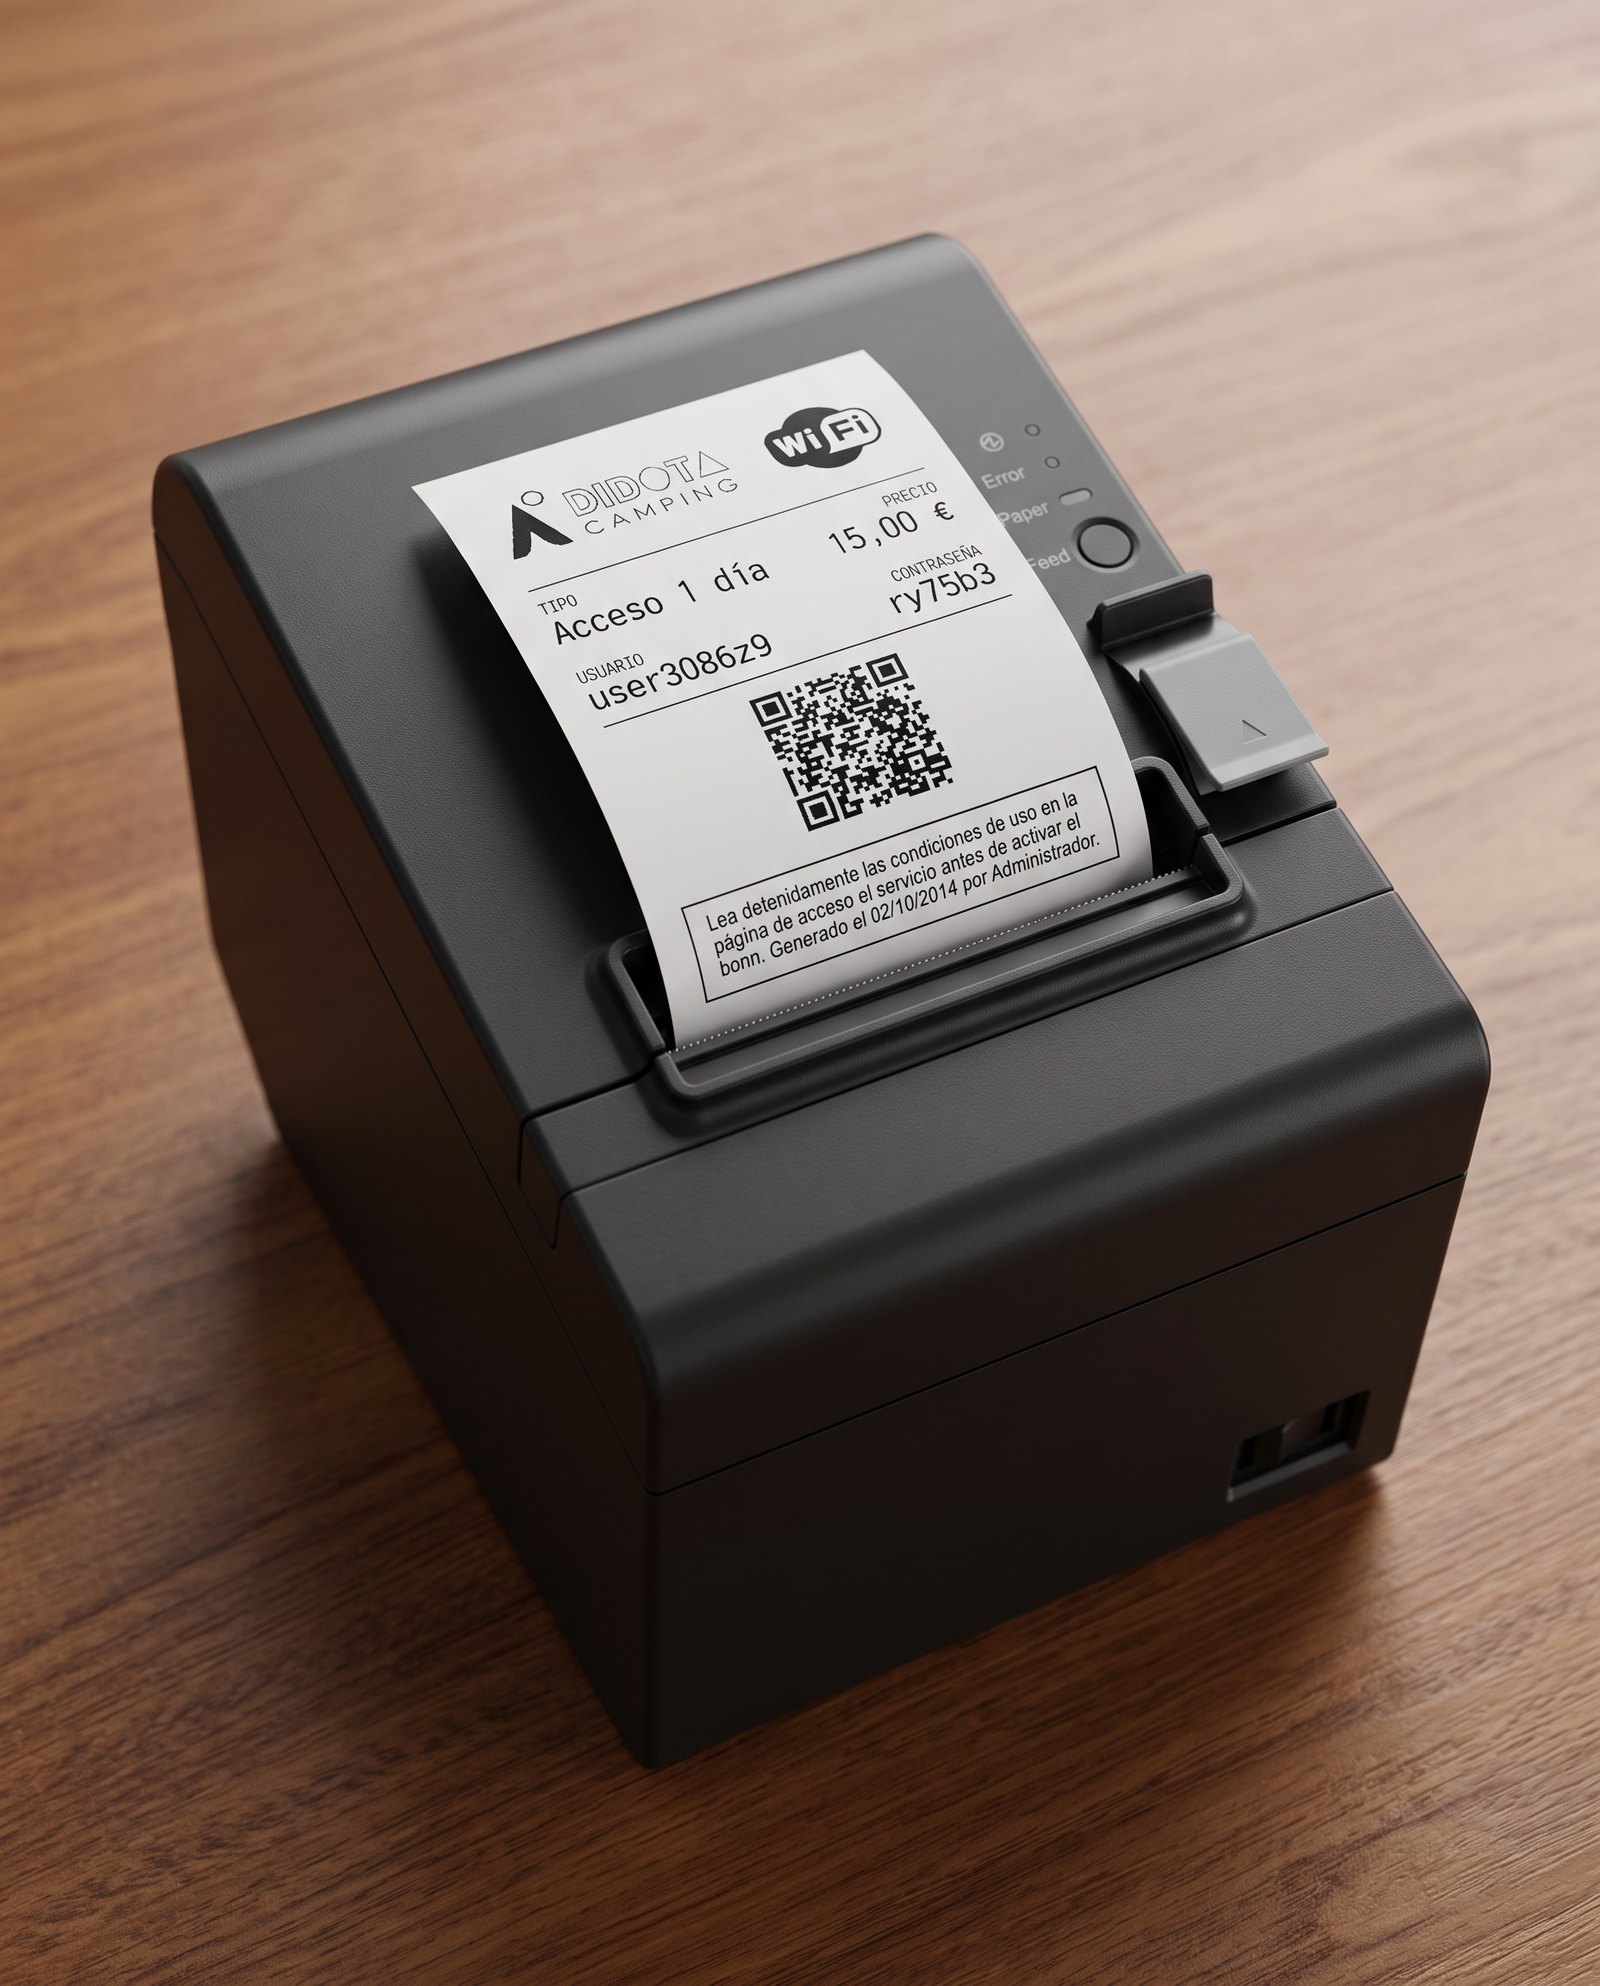
The use of commercial POS printers is the fastest and easiest way to print vouchers. Voucher is fully ready for use right after printing, allowing just-in-time generation under customer demand. Furthermore, these printers support native barcode and QR code printing, so customer can take advantage of the automated login process simply scanning the voucher QR code.

readyVoucher was fully tested using the cost-effective and reliable EPSON TM-T20II printer. Other Windows compatible POS printers should work perfectly.

When designing your voucher for ticket printers, you can select the way text and barcodes are printed. You can choose between native or software ones. Native (device) fonts and barcodes are generated by the printer, software fonts and barcodes are generated by readyVoucher and passed to the printer as images.

Generally native fonts and barcodes are designed for the printer resolution and offer fast printing and best readability but some printers can put restrictions on them. For example, EPSON POS printers can't print a combination of device fonts, barcodes and images in the same horizontal line. On the other hand, software items offer greater compatibility, more choice and no limitations. Voucher designs with software items are portable to other printers without modification.

Here are some tips for configuration of POS printers:

Driver setup

  • Ensure that Windows printer driver is installed and updated.
  • Configure the driver to cut paper on every page. By default cut is performed at the end of the document on some printers.
  • Most printers offer native (device) fonts. Use these fonts whenever possible. Device fonts are designed for the printer resolution and offer fast printing and best readability. However, some printers can put restrictions when using device fonts or barcodes. For example, EPSON POS printers can't print a combination of device fonts, barcodes and images in the same horizontal line. Please try this on your printer before designing your voucher or use software fonts.
  • Configure native barcode fonts. Some printers offer device fonts out of the box that will be converted to barcodes during printing. Other printers require the creation of device fonts mapped to a specific barcode definition. See printer manual for details. Please keep in mind that some printers can put restrictions when using device fonts or barcodes. For example, EPSON POS printers can't print a combination of device fonts, barcodes and images in the same horizontal line. Please try this on your printer before designing your voucher or use software barcodes.

readyVoucher setup

  • Select the POS printer in the 'Use printer' field. So it will be possible to select device fonts in text items.
  • Uncheck 'Fill page with vouchers' field. We want only one voucher per page.
  • Fill voucher width according to paper size used and voucher height as required. Please note that 'Min margin' field will be used as page margin.
  • Insert required graphic and text items. When using device fonts for text items, please be sure to select a font size specified in the size list. Otherwise the font will not print correctly.
  • To create a native printer barcode, insert a text item and select a barcode device font. Please be sure to select a font size specified in the size list. Otherwise the barcode will not print correctly.
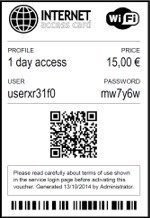
Hotspot voucher printed on a POS ticket printer

Office printers

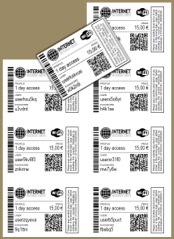
readyVoucher is designed to print small vouchers on large page formats. Vouchers are distributed on the page covering the available space.

The main disadvantage of using large sheets is that you have to cut manually generated vouchers after printing. This process can be greatly simplified using commercially available sheets used for business cards.

Voucher distribution is calculated using the page size and page margins configured in the Windows print dialog, and voucher width, height and min margin parameter in the voucher definition. You must adjust these parameters to achieve your desired layout.

From readyVoucher 1.3 you can include barcodes in your design. Using QR codes, customer can take advantage of the automated login process simply scanning the voucher code. Barcode is also useful to speed up the billing process. You can include your EAN or UPC code and scan it in your POS system during voucher sale.

A4 sheet with several readyVoucher vouchers printed

Sample voucher designs

You can use these predefined voucher definitions as a starting point for your own designs. Download the voucher definition file and import it to readyVoucher using the share button located in the voucher setup window.

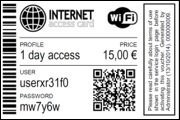
Sample readyVoucher voucher design: Generic voucher for 80mm POS printers (1)

Generic voucher for 80mm POS printers (1)

This voucher is designed for POS ticket printers using 80 mm. paper width. This design uses software fonts and barcodes. You can replace software fonts and barcodes with native (device) ones to increase printing speed.

Voucher size (width x height): 75 mm. x 110 mm.

Download this design
Sample readyVoucher voucher design: Generic voucher for 80mm POS printers (2)

Generic voucher for 80mm POS printers (2)

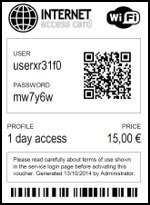
This voucher is designed for POS ticket printers using 80 mm. paper width. This design uses software fonts and barcodes.

Voucher size (width x height): 75 mm. x 103 mm.

Download this design
Sample readyVoucher voucher design: Generic voucher for 50mm POS printers

Generic voucher for 50mm POS printers

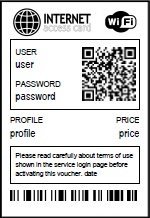
This voucher is designed for POS ticket printers using 50 mm. paper width. This design uses software fonts and barcodes. You can replace software fonts and barcodes with native (device) ones to increase printing speed.

Voucher size (width x height): 48 mm. x 73 mm.

Download this design
Sample readyVoucher voucher design: Generic voucher for A4 printers

Generic voucher for A4 printers

This voucher is designed for monochrome A4 office printers.

Voucher size (width x height): 88 mm. x 58 mm. (8 vouchers per A4 page)

Download this design
Sample readyVoucher voucher design: Generic voucher for A4 printers (10 vouchers per A4 page)

Generic voucher for A4 printers (10 vouchers per A4 page)

This voucher is designed for monochrome A4 office printers.

Voucher size (width x height): 88 mm. x 52 mm. (10 vouchers per A4 page)

Download this design